Azure App Service Static Web Apps

Static Web Apps (Preview)
Thursday 21st May - Some day ago I received a tweet notification on twitter about “Introducing App Service Static Web Apps”. but after a quick reading I felt very confused.
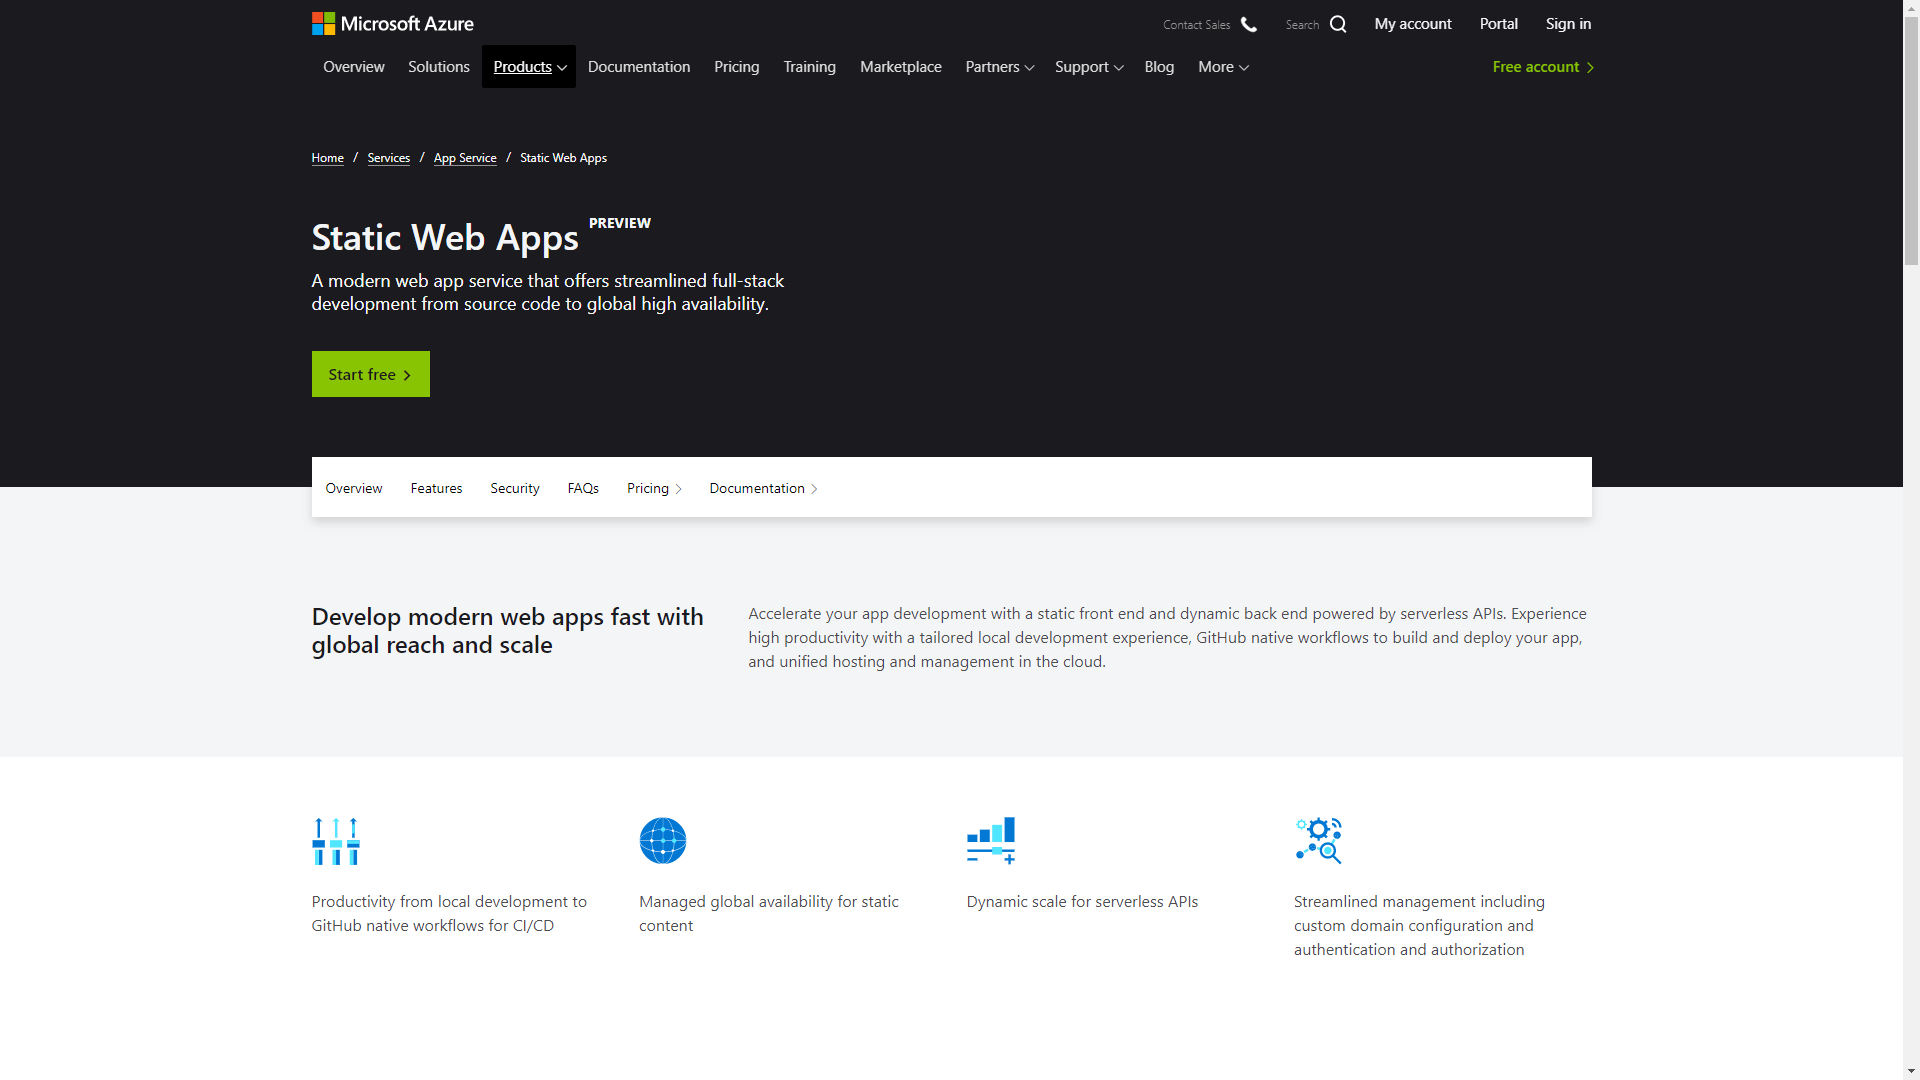
Modern web apps are increasingly adopting static front-end design patterns with client-side processing powered by JavaScript. This paradigm requires us to think differently about how we deploy and host web apps that don’t rely on web servers and consequently require a new structure of supporting cloud resources. This week at Build, our annual celebration of all things developer, we are happy to announce that Azure App Service has been expanded with a new hosting offer tailored specifically for static web apps, empowering developers to focus on the business logic that differentiates their apps rather than the infrastructure that hosts them.
What was my first thought after reading this?
At the beginning of may I migrated my blog on GoHugo platform, and I moved it on Azure Cloud using Blob Storage. Why don’t test this news?
That’s how publish your first static website using “Static Web Apps” from Azure portal
You only need::
- Account GitHub with static site to publish
- Account Azure
New Resource - Static Web Apps
Creating a “Static Web Apps” is very easy and no technical operation is needed.
- Create a resource
- Static Web App (Preview)
- Choose Subscription e Resource Group
- Insert Name of Static Web Apps (It will not be url)
- Choose the Region (for now available only in Central US, East US2, East Asia, West Europe, West US2)
- Login to GitHub
- Choose Organization, Repository & Branch
- In tab Build you can “Provide initial build variables. These can later be modified in the workflow file.” tra cui App location, Api location e App artifact location
- Then, you can do the Review and create a new resource.
CName & Custom URL
Once you create the resource, you will be assigned of an URL adress on this line:
In the resource, on left column you’ll find Custom Domains : enter domain setup and set CNAME
- Configure records with your DNS provider: To add a custom domain, first configure a CNAME record with your DNS provider.
| www | CNAME | polite-XYZ-0QWERTY903.azurestaticapps.net |
|---|
- Validate custom domain: Enter the desired custom domain you wish to add below.
Staging Area
In my next post I’ll talk about the opportunity to have a staging area if you wish not to validate modifications live. Read more on PULL REQUEST.
This is because the pipeline yml generated when you create
| |
First Impression
I tested this and I must admit I like this new Microsoft product.
- SKU is FREE
- You don’t need a CDN for Custom Domain (in contrast to blob storage)
- Unfortunatelu 404 page isn’t customizable
- GitHub: for now it’s a constraint of repository choice. Will it be succesful, or other source controls will be integrated in the future?
- Not editable configuration. This is a limit, because you can do the change through ambient recreation (CNAME modification, and delay time too)
I must admit I had my mind the idea to migrate my blog on App Service Static Web App, and for a while I did it, as I wrote on Linkedin.
I couldn’t resist migrating my blog from #blobstorage to #azurestaticapps after reading the news this afternoon, even if this service is still on preview. I immediately changed the beloved #endpoint of #cdn . Yes, I confess, I love so much #azure #cloud, and I must thank Microsoft for this “gift”.
In a few moments, I recognized some details that persuaded me to restore the build pipeline through blob storage and CDN usage. Why?
- I had some trouble with GoHugo pipeline despite instructions on Microsofr website
- I couldn’t change configuration unless deleting and recreating the whole website
So, that’s why I prefer to restore the previous stack and test it on the week end. Once I find the way to publish automatically, I’ll swithc the CDN off and change the CNAME on my domain.